 Fans line the bottom of the garage door, transforming our garage into a makeshift spray booth.
I realize it's been a long six months since my last post. For the past five and a half months, a lot of the same tedious tasks were taking place, and I knew few people would want to hear about the seemingly never-ending grinding off of paint down to bare metal. So I decided to wait and spare you the boring details. There was a lot of grinding, a lot of dust, and a lot of vacuuming and cleaning in between. I finished up grinding in mid-February, about a year after I began. I was ecstatic to finally be able to cross that task off the restoration checklist.
 Down to bare metal
So, at long last, I finally got to shoot some paint on the body. This turned out to be a good way to figure out how to apply a few different types of primer and see how my garage spray-booth would perform.
 Mixing the etching primer
Since I had taken most of the body to bare metal, it was necessary to dust it with an etching primer before proceeding to a catalyzed primer, and finally a single-stage body color. I was a little unsure as to when in the process I should seal the body seams. My Uncle Joe suggested etching, then sealing. I was leaning that way since it made sense, but it also added a bit of extra work. There's a window of time that you can shoot the next type of paint without having to re-sand and re-clean, and since I took the time to caulk seams, I missed that window. This meant that not only would I have to scuff the entire body with 100-grit paper, I would also have to re-shoot the etching primer before proceeding to the other two paint types. I didn't mind too much, after I had finished sanding, since it really seemed like the way to get the best bond.

 Caulking the seams/Primer coat on
All in all, I'm pretty happy with how it came out. I would be supremely disappointed if this were in any way supposed to resemble the finished product, because it does not! There are places that look like textured drywall, a few landslide runs, and I actually ran out of body color! If I'm reading the data sheets correctly, I should be able to pick up a quart of paint tomorrow, and still be within the window for re-coating, so that part should be okay. As for the blemishes, this only really needs to look decent in the engine compartment and interior. The rest of it will either fall within the tiny unnoticeable spaces around window glass and doors, or be covered completely.
 First coat of Matilda purple!
The best part about having cleared this hurdle is that the next chance I get, I can finally get this thing in for undercoating, and then start making some real progress!
—GP


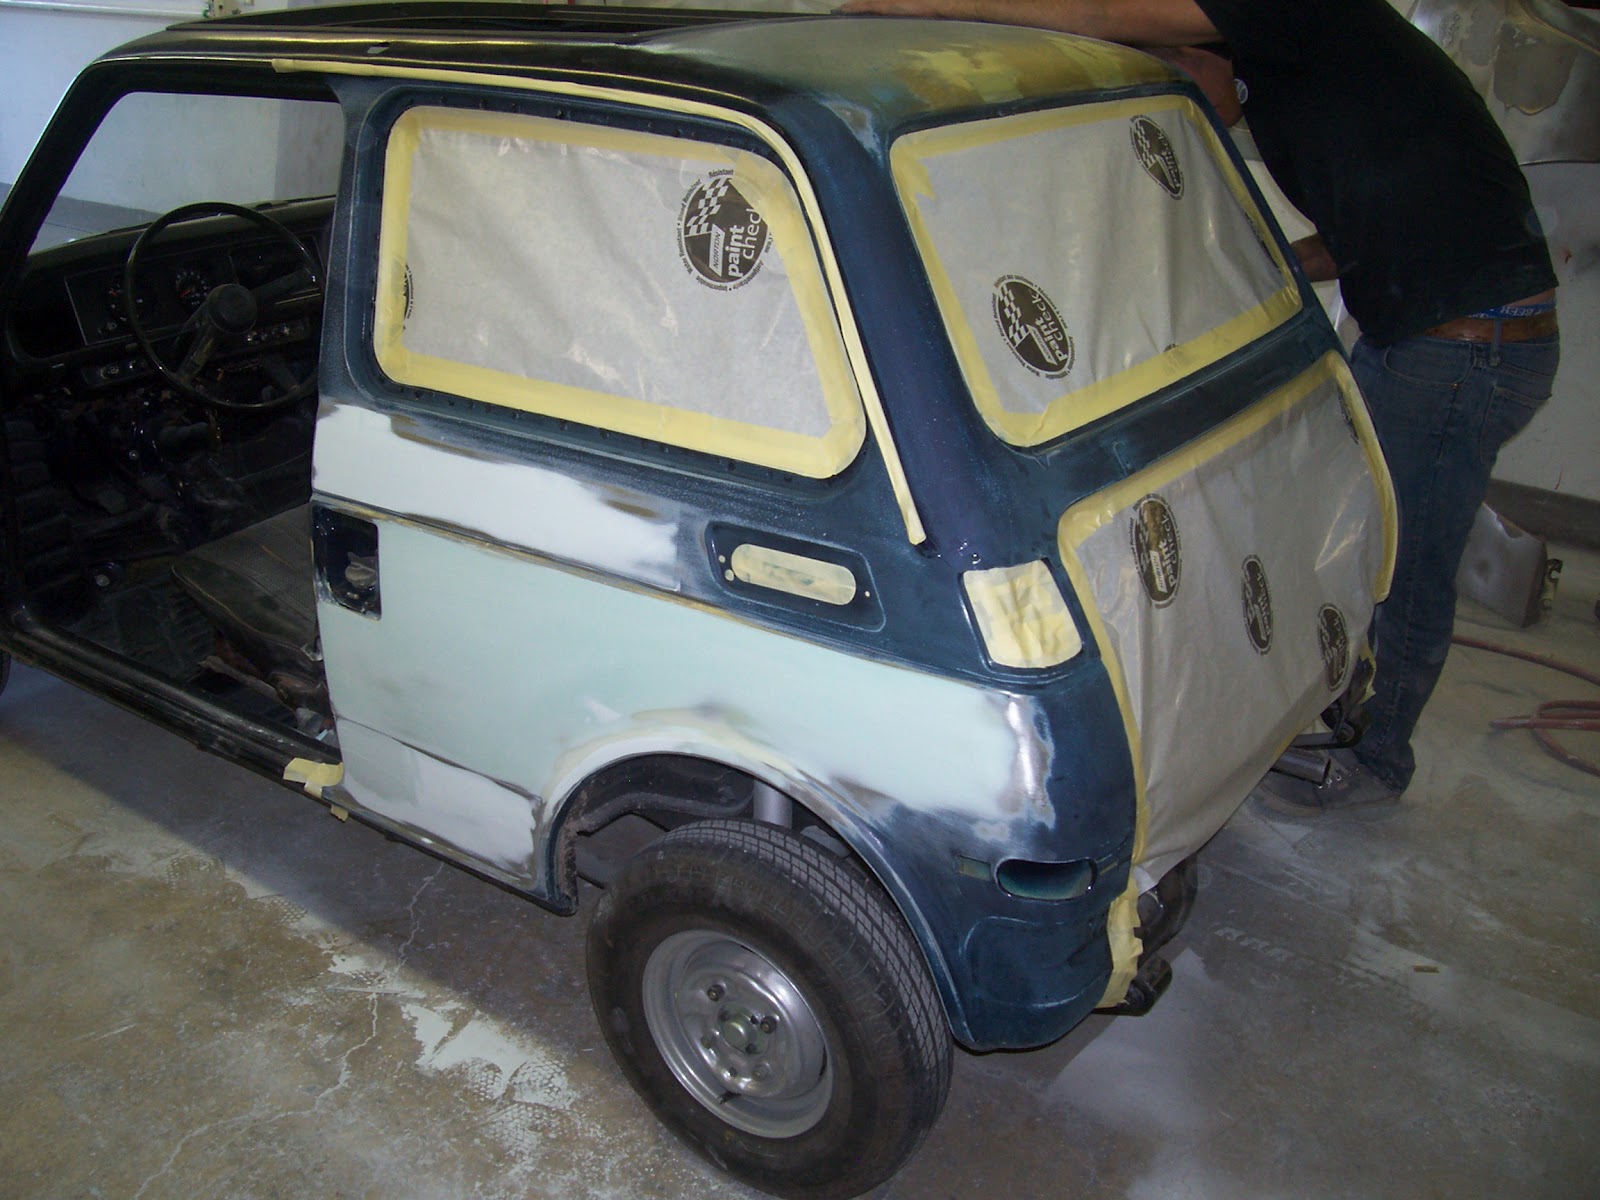 We are very excited to have finally reached the time when somebody else does some work on Matilda! Although, I spent nearly a year sanding and prepping cars at a body shop when I was twenty, I've come to realize I am not nearly qualified to perform a quality paint job on this, or any other car. Thankfully, the fine craftsmen at McClinton Auto Collision of Albany, OR were willing to take on the challenge. I decided to wait until the end of summer weather to take it in. This would give me more driving time, and allow me to save the considerable pile of cash needed to complete the job. Well, the money part worked out fine, so I decided to trade a few sunny weekends for a chance to get her done a little early. I drove her over to Albany last Monday, September 24th, and got the first progress pictures today. Honestly, I figured they hadn't touched her yet, but was very pleasantly surprised to see they have the rear quarter panels in primer already! That leaves the top, doors, fenders and hood to straighten and shoot. Then will come color sanding, and clear coat. I expect them to have her for roughly a couple of months, but may see her sooner, if this pace holds!


