Matilda will be at the Function 4 Junction in Junction City, Oregon on May 30th.
Come down and visit her and lots of other great classic cars!


 We brought her home the day we got back from vacation. As this is winter in The Northwest, it was getting dark around 4:30, and it was raining. I had to decide between putting on enough equipment to make her street legal, and just enough to be safe with the impending darkness. So we hit the road with headlights, and tail lights, but no side-markers, license plates, windshield wipers or top. After a nerve-racking drive, we got her safely back into the garage. I was able to start making reassembly progress almost immediately, by sticking the Honda badging back on in the appropriate places. I've gotten a few full days in on the rebuilding process, and have managed to install the radio antenna, side-markers, rear license plate holder and mud flaps. I got the window frame installed in the passenger door, but am having an issue with the door closing properly with the weather-stripping in place. This is odd, since the Driver's door is closing fine, but I'll figure it out. It's so exciting making progress, it makes it hard to go back to work, but I guess I need to fund this project somehow.
 Next on the agenda, will be sound-deadening. I'm going to line the interior with a layer of Dynamat acoustic material, and overlay that with a layer of Dynapad carpet pad. She's also getting a hood liner that should cut some noise. Between a quieter ride, and some windows and seals that should keep out some of that charming exhaust smell, it should be easier to get Carley to ride in her with me!

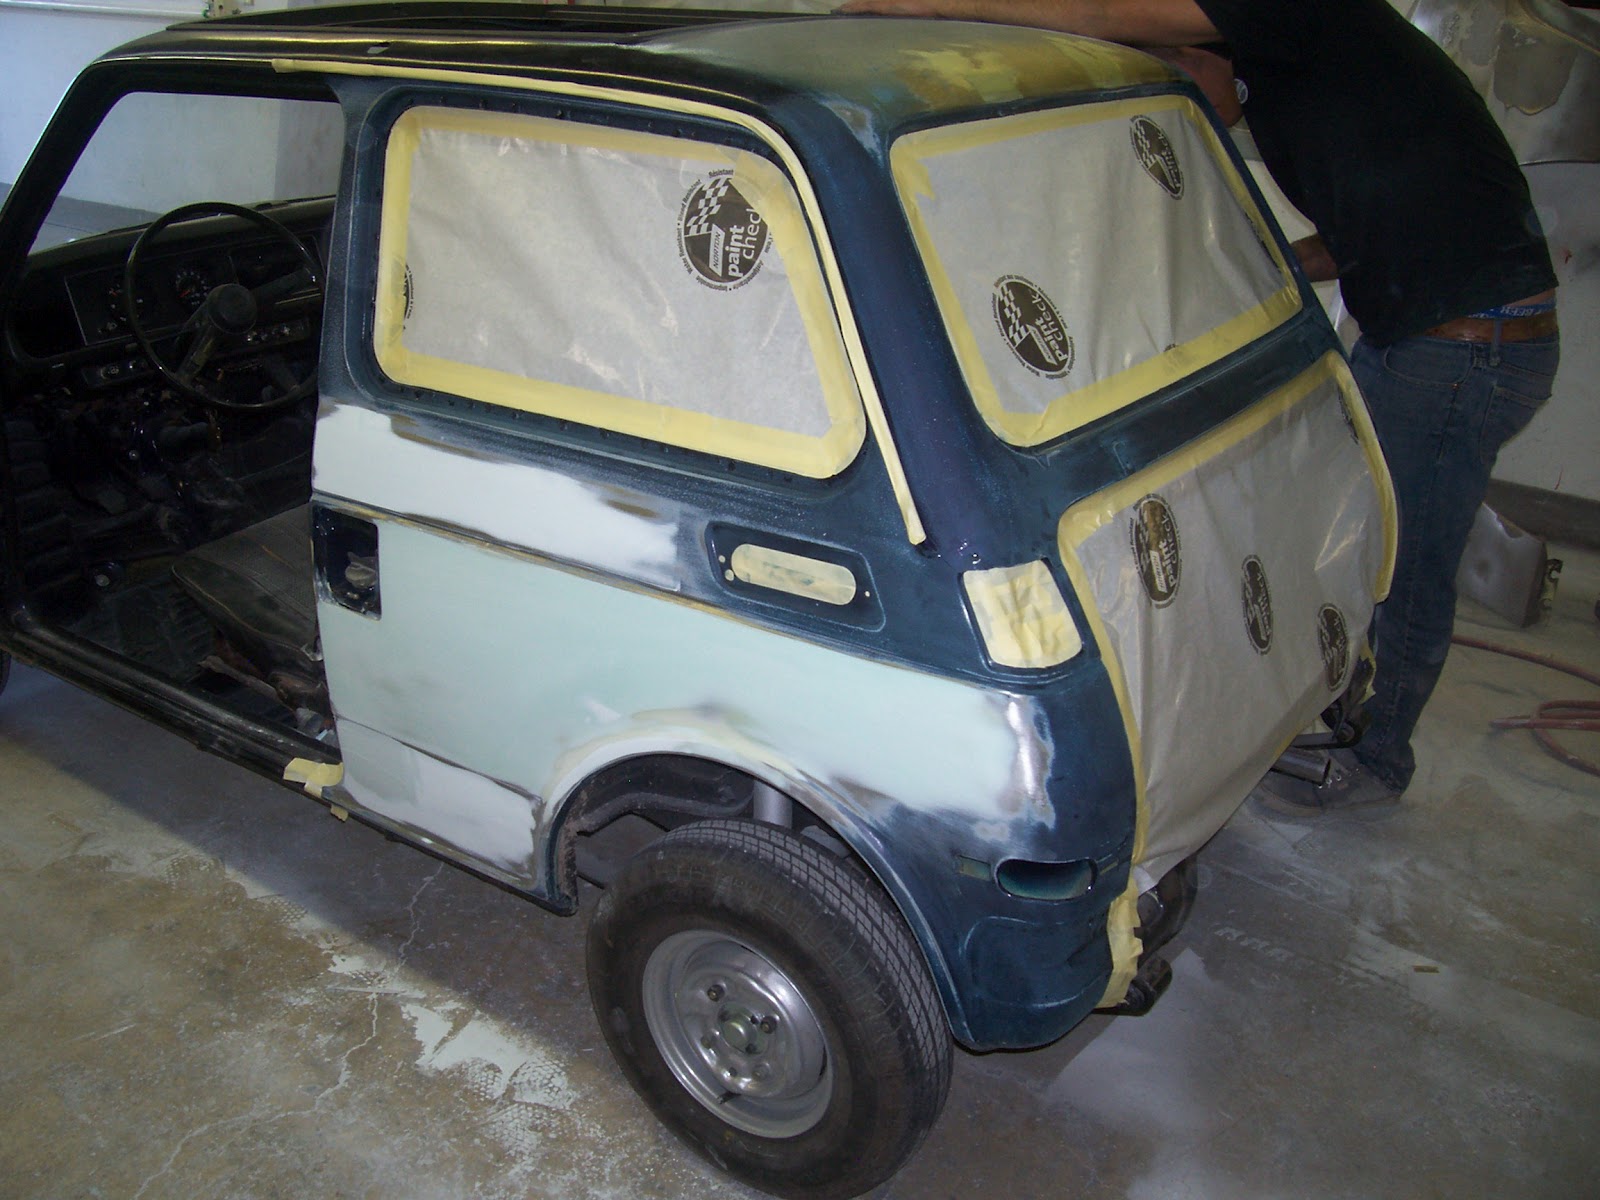 We are very excited to have finally reached the time when somebody else does some work on Matilda! Although, I spent nearly a year sanding and prepping cars at a body shop when I was twenty, I've come to realize I am not nearly qualified to perform a quality paint job on this, or any other car. Thankfully, the fine craftsmen at McClinton Auto Collision of Albany, OR were willing to take on the challenge. I decided to wait until the end of summer weather to take it in. This would give me more driving time, and allow me to save the considerable pile of cash needed to complete the job. Well, the money part worked out fine, so I decided to trade a few sunny weekends for a chance to get her done a little early. I drove her over to Albany last Monday, September 24th, and got the first progress pictures today. Honestly, I figured they hadn't touched her yet, but was very pleasantly surprised to see they have the rear quarter panels in primer already! That leaves the top, doors, fenders and hood to straighten and shoot. Then will come color sanding, and clear coat. I expect them to have her for roughly a couple of months, but may see her sooner, if this pace holds!

 There will always be certain items in a restoration that you just can't get. In those cases, you try to find something that will perform a function, it not fitting the car exactly. This is how I handled replacing the hoses that join the master cylinder to the brake fluid reservoir. As it turns out, brake fluid does not like rubber, or many other hose mediums. After doing some research, and visiting a few parts houses, I ended up at Willamette Hose in Tangent, OR. They had a chemical spray hose that had the 3/8" inside diameter I needed, and it had a plastic chemical resistant lining. They said they wouldn't sell it to me, but I could have it, if I took all they had. Not much of a seller, apparently. I took it, and soaked it in brake fluid for several weeks, to make sure it wouldn't degrade over time. Since the lining seemed to hold up fine, I installed it, and went on my merry way. The thing about the plastic lining, is that it doesn't make the best seal under a hose clamp. I was getting a very slight leak at each of the clamps, and it never really looked right. Fast-forward to my discovery of Honda600carparts.com. While perusing the brake portion of the sight, I noticed they are carrying the very hose I couldn't find earlier. The hose is an ether-based polyurethane with open-mesh polyester braiding incorporated within its wall. I can't believe they didn't have it on the shelf at NAPA. I put it on today, and am quite pleased with the result!
 | |
| Brochure Cover. |
 |
| Sidewalk Drivin'! |


 |
| Some perspective shots.. |
 | |
| Alabama Car Alarm. |
 .



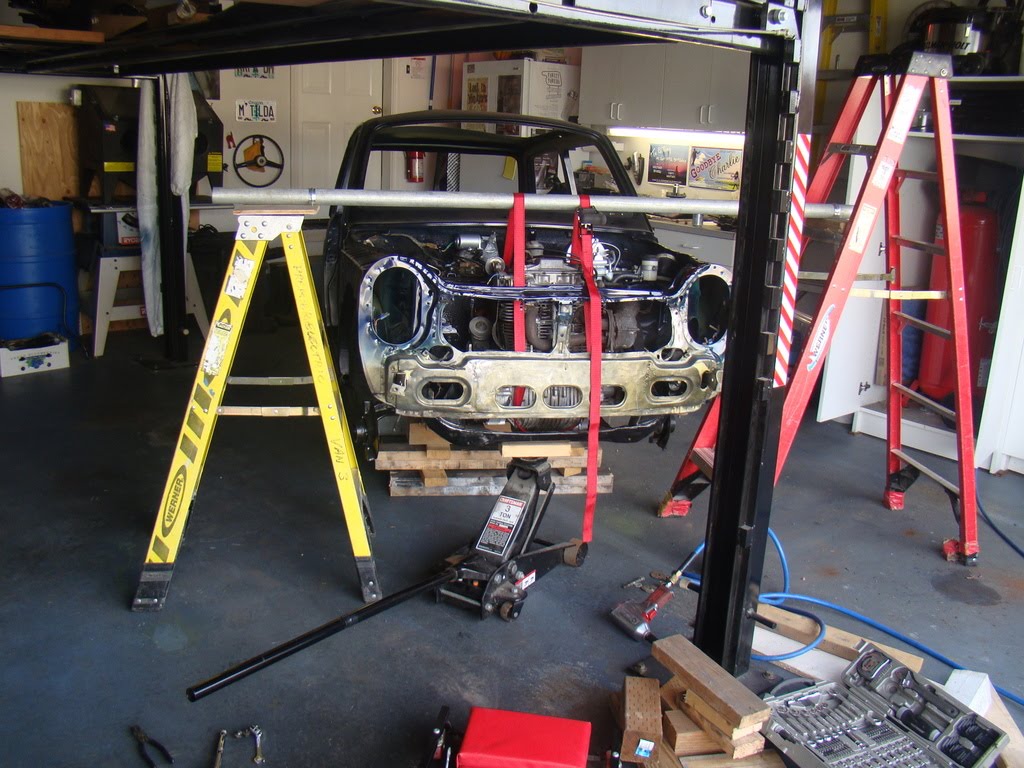
 This turned out to be a busy holiday weekend. Big surprise. Between holiday travel, an impromptu work day and a practically impromptu dinner party, I was starting to think this would have to wait. Luckily, I got into the garage this morning and finished media blasting the few remaining parts that would be needing body color. I cleaned and hung everything I could from the lift. I suited up, and shot everything with an etching primer to prep the bare metal for priming. I then gunned the catalyzed primer and single stage body color on the back sides of the fenders, under side of the hood, and insides of the doors. The Hood and door
 hinges, the fuel door and rear bumper panel needed to be painted prior to reassembly also, so they got the same treatment. I was conflicted about how to ventilate the garage while spraying, as I had been running two heaters all day to get up to the recommended 70 degrees. I was a little alarmed to come inside and remove my respirator and smell automotive paint. I set up the spray booth fan set up I used earlier in the project, and opened several windows in the house to clear the air. It smells fine now, but I think I will run the fans overnight to aid in drying.

 extremely rare since they were never really great quality to begin with, and after 40 years of weather exposure most of them are shot. It got up around $350 at the end of the auction, when some guy swung in in the last few seconds, and stole them. Fortunately, another guy got them from him a second later. Bloodsuckers. That prompted me to search for a way to make molds that would allow me to make new lenses on my own. I found a kit that might just work, but it will be so long until I'm ready to reinstall the tail lights, that I may come across another set somewhere.

 I dunno...
 my windshields, Dave the glazier noticed that one of them was in nearly perfect shape. I had to wonder when he proclaimed that the other had probably been owned by a woman. When I asked what made him think that, he pointed out the two deep scratches on the inside of the windshield. He told me that they were probably caused by someone wiping off condensation while wearing a diamond ring. Just like CSI. From there we went straight to Jerry's Precision Muffler. Jerry hadn't seen one of these cars in three or four decades, and wasn't sure what to do for a muffler. After some test fitting, and a couple of cigarettes, he decided to weld together two 18" glass-pack mufflers
 in the "transmission hump" and add another 12" unit out back for good measure. That would mean that we would have four feet of muffler in a ten foot long car. We wanted quiet, so I tho
 ught it sounded fine. It actually works great. I had no idea how loud the engine was since we couldn't hear it over the exhaust noise. Now, with a practically silent exhaust system, you can really hear those 36 ponies up front. We did have what looked like a very serious problem when it came time to drive off the lift. I depressed the clutch pedal to start the engine, and heard a "pop". I then noticed that the clutch pedal was hovering suspiciously close to the floor. There was no getting the car into gear. The clutch had gone out. We pushed Matilda out of the muffler shop, and onto the tow dolly for the ride home. I had just about accepted the fact that I would now have to pull the engine, and open up the clutch to see what sort of catastrophe had befallen our little car. I made a few phone calls, and sent a few emails to gather information on just how screwed I was. One suggestion I got via email was to check the clutch adjustment bolt. On a whim, I decided to tighten it a bit and see what happened. The pedal seemed a little higher. A few more turns, and it would go into gear. A few more, and I was ready to chance a test drive. Amazingly, it worked. The only thing I can figure, is that something must have been binding in the clutch housing since we got the engine, and the pop I heard was that thing falling into place. Once in place, it simply needed the adjustment bolt a little closer to do its job. What a relief! It was so much fun to drive around the block, this time while looking through safety glass, and enjoying a relatively quiet ride. I've started prepping the fenders and hood for jamb-painting and hope to have them on soon. The dream is to have her road-worthy (if not totally presentable) sometime this summer. Keep your fingers crossed!

 pillar. It looked like they had done this with the assistance of a can opener. One of the first body repairs I did a few years ago was to patch that gaping wound. I had not done the kind of job that would be unnoticeable under the final paint job, so I knew at some point I would have to revisit it. I've been trying to get the car ready for the windshield and exhaust system installations, and it occurred to me that I'd better get that old patch cleared up before a portion of it was covered by the windshield gasket. I've also been on the fence about the quality of the interior paint job, so I decided to sand, mask and repaint the visible surf
 aces while re-shooting the windshield bed. It was a lot of work for such a minor result, but I knew it would bug me later to see essentially textured paint while sitting in the car, which I hope we do a lot.




 ough to procure what may be the last two new old stock (n.o.s.) lower ball joints known to man. Mike O'Connor put me onto the CMS (Consolidated Motor Sports) website. This is essentially a clearing house for unsold motorcycle parts in The Netherlands. Is sounds like they've had these ball joints sitting on their shelf since around the time I was born. It only took five days, well five days and $300, and they arrived at my doorstep. As you can see, the original joints are in pretty sad shape. I also scored a pretty good deal on a reproduction exhaust pipe that a guy in Missouri sold me on eBay. He's been parting out a few N600s, and while most if his stuff is

 used, this piece was made from new material to match an original. I got notification Saturday that the bushings for the sway bar have shipped, so the front end can go together when I get the CV axles come back from the shop. This is all contingent on what happens with the sub-frame. The rust issue is forcing me to replace it, or cut out the bad spot and weld in a patch. I think it's a lost cause since it's rusting from the inside out, as a result of having spent time in the Florida Keys. Hopefully, I won't have to go to The Netherlands to find another one.


